A few weeks ago on Splitcoaststampers they had a tutorial for "Layered Gesso Background" which I wanted to try. So here's my attempt. Actually two attempts. My first one was quite a bit different from the tutorial and I didn't really like the result so I made another following the tutorial more closely. But then I ended up finishing both cards and quite like my original result. Anyhow, here goes the first:
TRY #1
Step1:
Here you are supposed to cover a piece of mixed media paper with gesso. I didn't want to go with just white gesso so I dyed my gesso brown with some chocolate chip re-inker. My plan was to use my little Gecko in here at the end so I thought brown would work better for him.
Step 2:
Stamp the paper with archival ink. I used brown Stazon.
Step 3:
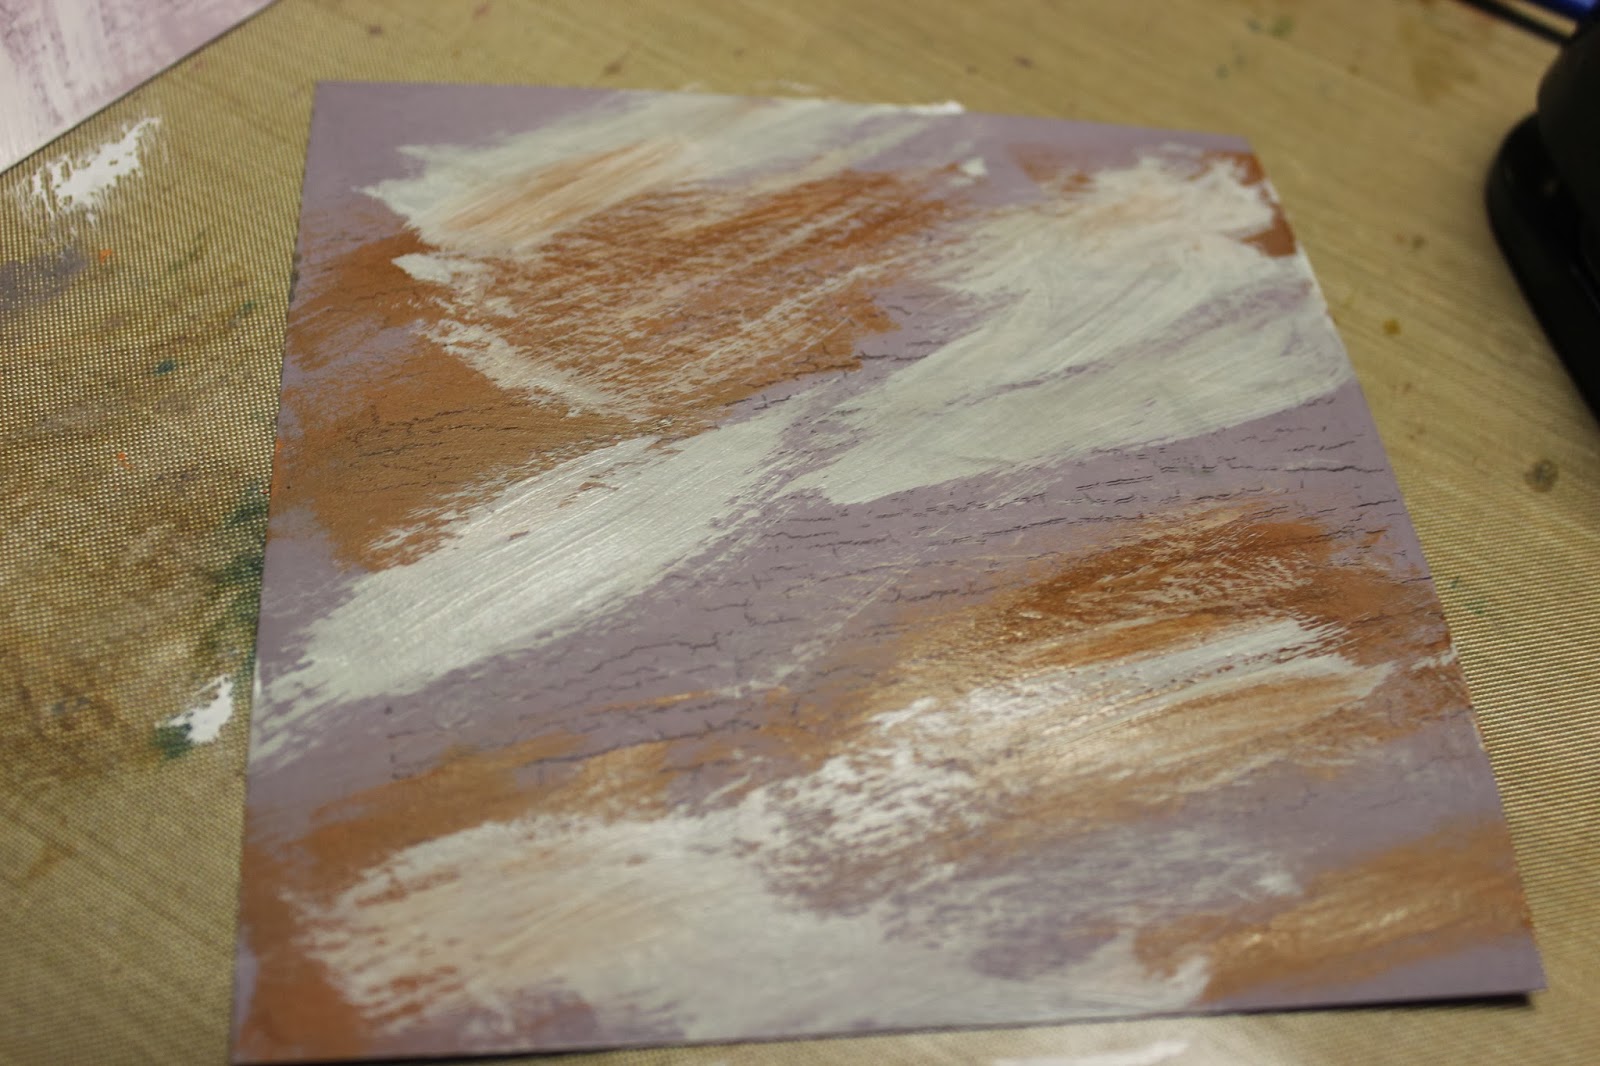
Paint the paper with a light acrylic paint.
Here I was going from memory and forgot the paint was supposed to be light...I used bright orange paint. It dulled a bit when dried...
Step 4:
Paint over random portions with gesso.
Step 5:
Apply a metallic finish.
The closest metallic finish I had was a copper ink which I smudge over top. Whatever. You can tell it's shimmery.
Step 6:
Use a stencil with some modelling paste.
I actually did have some embossing paste (is that what they meant by modelling paste???) but it was white so I dyed it brown. Then used a stencil to cover most of the paper. I think I got a bit carried away with the paste....
Step 7:
Finish the card. I originally had everything planned to go with my Gecko. But didn't really like the look of him on this card. So I gave up and tried again -- this time following the rules a bit more.
TRY #2
Step 1:
Just white gesso.
Step 2:
Black Stazon and I stamped a few little Seahorses because that's what they did in the tutorial.
Step 3:
Okay, I didn't really have light acrylic paint so I used blue. I guess I could have added white to lighten it up a bit. Didn't want to bother. I'm a bit of a rebel.
Step 4:
Added some white gesso...
Step 5:
This is silver paint. That's the closest metallic thing I had that matched...
Step 6:
Ooops! Forgot to take a photo of the finish!!! Oh well, you can see it in the result. The embossing paste I kept white and the stencil was just some random dots.
Step 7:
Finished! I added some white yarn and my favourite sentiment. I also tried to add the larger seahorse on top but didn't like it.
Back to my first try. I did like the result but just couldn't figure out how to add my gecko in there. So I went crazy and added Mike's Mini Flower instead!
I find when cutting out the flower I spend so much time figuring out exactly how to position the flower to get it to cut out right. Then I had this idea -- put the word "dots" to like up the petal with the dots on it. Now I have it lined up perfectly right away. Here's what I mean:
So take your paper and like up the flower petal with the dots with the cut out petal that says "dots" on it. Much less time to cut the flowers out now. I also did this with my bigger flower.
Anyhow here's the result of my first try:
The flowers are cut out of "Dusty Durango" paper and stamped and sponged with Chocolate Chip. The middle of the flower is copper ink sponged on Dusty Durango, punched out with a small circle punch and then sponge around the edge with Chocolate Chip.
Hope you enjoyed both cards. The second one is not really my style but I do like it quite a bit.


They're both cute - I saw the technique at Splitcoast but didn't pay much attention to it - think I'll go back and take a second look now that you've shown how much fun you can have with it :) Rebel indeed!!!
ReplyDelete