So the first few days of the week used up some papers I had made using some Dylusions Sprays. Some were wondering how I made them. Here's how:
Wednesday's cards are the easiest to show. Basically I took some sprays (Postbox Red, Cherry Pie and Squeezed Orange) and sprayed over my entire 8.5x11 sheet of paper.
Then you need to dry the paper. If you have the time, you can just wait for it to dry on it's own. If you want it quickly, you can place another sheet of paper on top and pick up the excess ink to make another sheet to use or you can just use a paper towel to get most of the wetness out. Then you can use your embosser to dry the sheet completely. Do you need to dry this completely? No. I just found that the wetter the paper the more likely the next step is to smear. Sometimes you want this look and sometimes you don't. So before I did the next step I dried my paper thoroughly.
Then I took a stencil (uneven circles)
and placed it over cardstock and sprayed water on it. The sprays react with water and make the colour lighter. I then dried off the stencil, placed it on the other side and sprayed with Postbox Red. Here is a picture of the result:
You can see the side on the left has the lighter coloured circles while the side on the right has the darker ones.
Now I'm going to show you what happens if you don't dry the paper first. Here's a picture I took of my two sheets (I sprayed one and put the other on top to soak up the excess dyes) before I used the stencil.
The papers here are damp but not soaking wet. I use my stencil and come up with this:
The part of the left is sprayed with water and the part on the right is sprayed with Postbox Red. Because the paper is still wet the new spray runs into the paper and you can't really tell that I used a circle stencil. But I really like the look on the water sprayed side! Kinda tie-dye-ish.
You can also use the reverse side of the stencil. After the stencil is sprayed there is some dye left over on it. Flip the stencil over and stamp on the other piece like so:
I just kept placing it on the paper randomly until all the dye was gone from my stencil. That's an interesting look also.
You can use smaller pieces of paper but I just normally use a bigger size and cut it in 4 or just use my favourite parts.
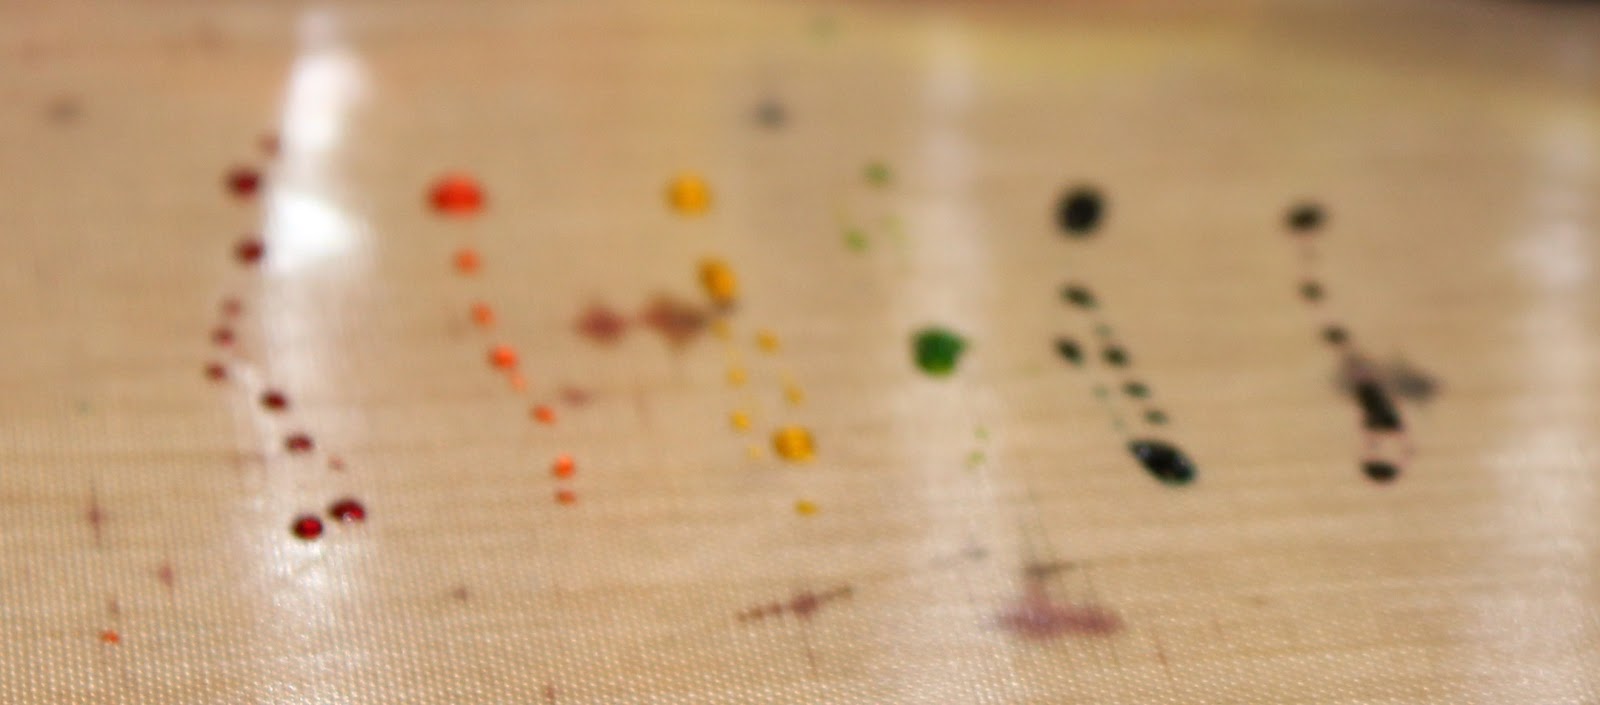
To get my rainbow look I drizzled some different colours (Postbox Red, Squeezed Orange, Lemon Zest, Fresh Lime, Vibrant Turquoise, Crushed Grape) each in a line about 3 inches long side by side like so:
Then I put some paper (5.25x4 inches) on top of the dyes and dragged it through:
Here I did the same but sprayed the dyes with water before putting a sheet of paper on top:
There was still some dye on my craft sheet so I sprayed with water and put another sheet on:
Here's me playing around some more:
I sprayed Vibrant Turquoise, After Midnight and Crushed Grape on a craft sheet:
Then I sprayed with water to combine them:
Now I put my sheet of paper (8.5x11) on top and squished flat.
Another sheet of paper:
and another:
Here I sprayed Bubblegum Pink, Squeezed Orange, Lemon Zest, Fresh Lime, Vibrant Turquoise, and Crushed Grape on a craft sheet to make little blobs.
Then I sprayed with water:
I took an 8.5x11 sheet of paper and dragged it through the dye. There was still some dye left so I sprayed with water and again ran a sheet (8.5x11) through. I managed to get three sheets decorated before I ran out of dye:
First time:
Second time:
Third time:
Then I just took the part I liked best about each sheet and cut into 4x5.25. Here they are. The first sheet I pulled through is on the right. The second is on the left.
So here is the card of the day using one of those pieces -- 'cause somedays you just need a rainbow hug!